A couple of weekends ago I joined Thomas to explore the WW2 radar station [1] and anti-aircraft gun sites [2] that the Japanese built on Tai Mo Shan. We'd read Tymon Mellor's account of the Japanese wartime radar site there [3], and wanted to see what remains today.
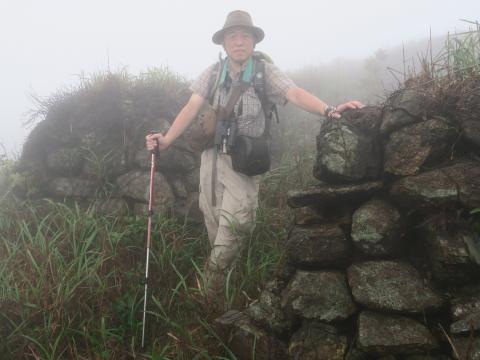
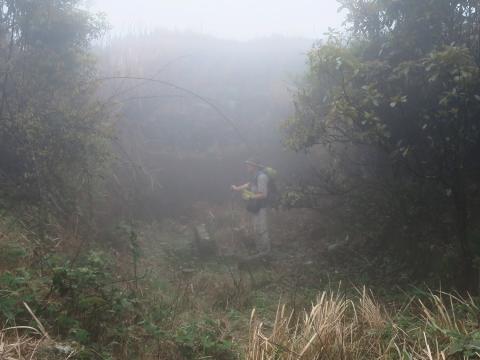
"Tai Mo Shan" is Cantonese for "Big hat mountain", and it certainly had its cloudy hat on the day we visited. Despite the fog we still found lots to see.
Getting there - the walk to the site
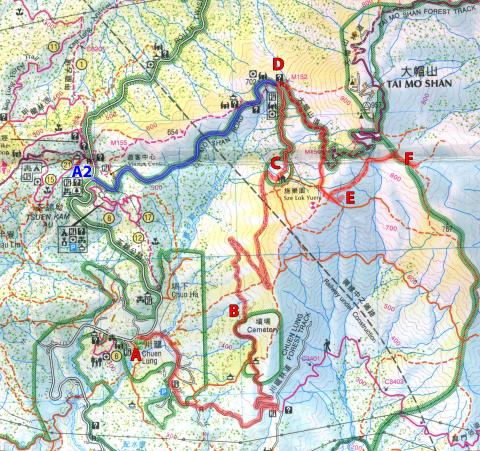
Here's the route we took, marked in red on the map [4].
We started at Chuen Lung village (A) on Route Twisk, as it is easy to reach from Tsuen Wan by bus and mini-bus [5]. The walk starts off along a paved, well-maintained road, running through the village and up to the cemetery (B).
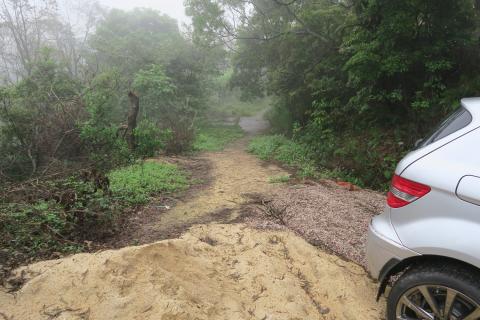
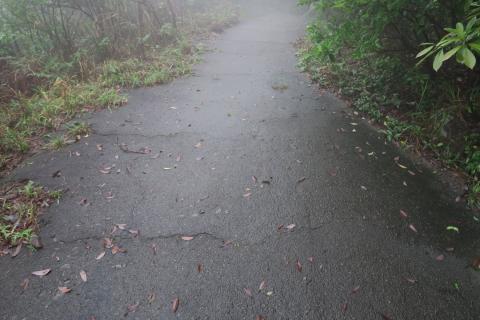
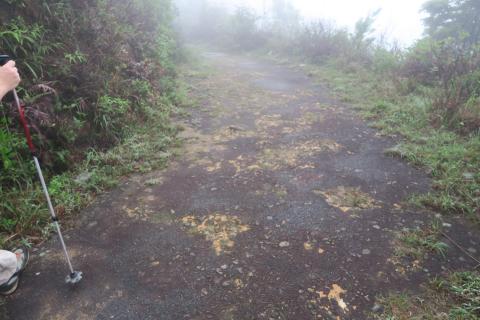
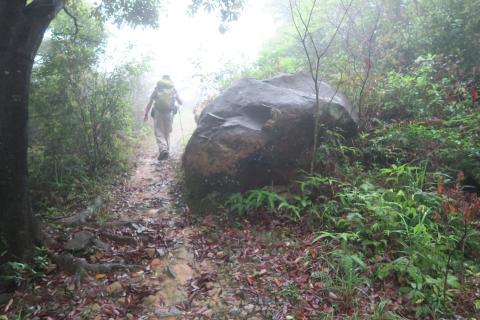
From there on it is still a clear path along the old road:
Though the surface condition varies from almost new to completely worn out.
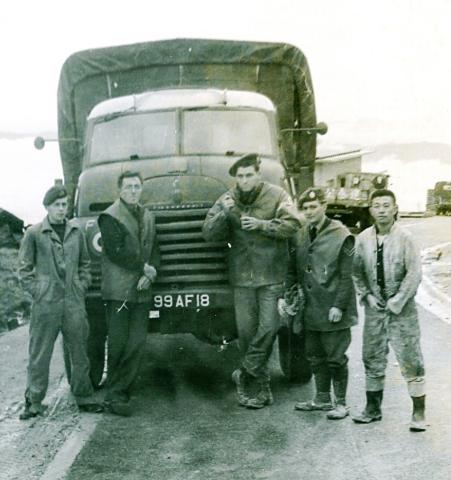
This road was used by British military vehicles in the 1950s, bringing heavy material up to build their own radar station on Tai Mo Shan.
That means it's a very gentle gradient, so though it's a long route, it's an easy walk.
The road is blocked now, as the Sze Lok Yuen youth hostel (C) was built across it. When you get close to the hostel you'll see a sign pointing to a path that turns right, running uphill. It's labelled to "Route Twisk". The safest option is to follow the sign and take the path uphill. It leads in a small loop around the edge of the hostel's grounds then back to re-join the old road on the other side. Or you can walk on through the grounds, but will have to take a chance as to whether the gates on the far side are locked or not.
Eventually you'll reach the Tai Mo Shan Road, where there's an entry barrier and a small gatehouse (D). Don't worry about the barrier, that's just for vehicles. Walkers are free to pass, as this section of the road is part of the Maclehose Trail.
Carry on up Tai Mo Shan Road, then about half way between Maclehose Trail distance markers 151 & 150, watch for a path that branches off to the right. Take that path towards the Anti-aircraft sites, which I'll explain in more detail below.
Other route options: If you don't fancy such a long walk, there are a couple of other options to get to and from the gatehouse (D). (We walked back out the same way, ending up at Chuen Lung again. The total distance for the day was around 16-19km, depending on whose GPS you believe!). It should be possible to get a taxi up Tai Mo Shan Road to very near the gatehouse. It is certainly possible to stay on bus 51, and get off further along Route Twisk near the junction with Tai Mo Shan Road (A2). From there it's a much shorter walk to the gatehouse, though it's a steeper climb.
Anti-aircraft sites
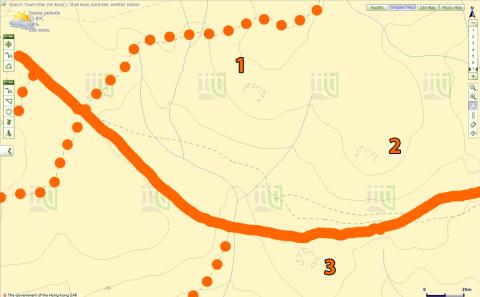
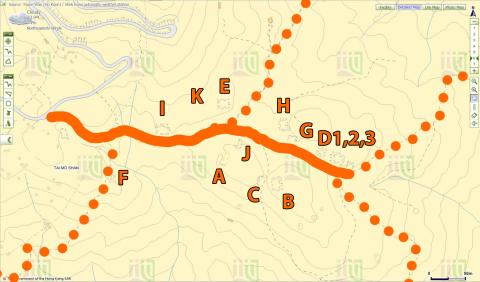
We'll switch to the government's detailed map of the area [6]:
The map is drawn at such a detailed scale that the rectangular shapes of the three anti-aircraft sites are clearly marked (1, 2, 3). I've also added orange lines to mark the paths that are shown on the countryside series map we used above.
After leaving Tai Mo Shan Road, we're walking along the path shown by the solid line on this map, entering from the top-left. The first two dotted-line paths on the right lead down to a small building, the fire lookout. Ignore that and continue on along the main path, across a stream, then site #3 is ahead on the right.
From site #3 walk straight up the hill and you'll find site #2. (There wasn't a path, but it's short grass and easy enough to walk through. Judging by the sooty marks on my trousers, there has likely been a hill fire in the area not too long ago.) Then from site #2 head west along the contour to find site #1.
The three positions all share a similar layout. They're rectangular areas with a flat floor, each dug in to a hillside. At the back is the vertical face of the cutting, around 2m high, while at the front a dry stone wall of 1 - 1.5m in height has been built to give protection. Small openings at either side of the front wall provide access. Here's a short video showing the layout:
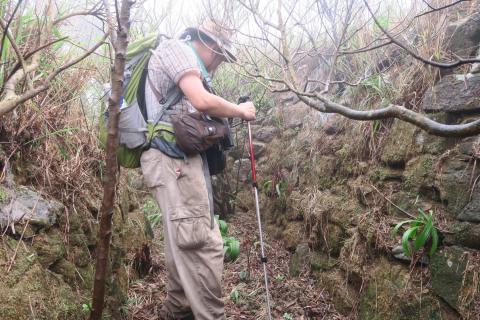
And Thomas giving us an idea of the size of the walls:
You can see just how foggy it was, making any longer-distance views impossible.
When you've finished looking at site #1, walk a bit further along the contour until you hit the path shown by the dotted line. Follow that up the hillside and it will take you to the radar site.
Radar site
Here's the detailed map for this area, marked up the same way. The path up from the AA sites is the dotted line entering from the bottom-left corner.
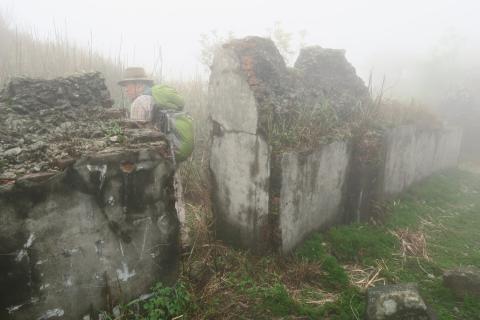
Site F is the first one we saw. It was dug much deeper than the AA sites, and instead of plain earth and dry-stone walls there is reinforced concrete and brickwork.
WARNING: The back walls of the pits for the radar sites are up to 5 metres deep. Deep enough for a serious fall, so go carefully if you leave the paths around this area.
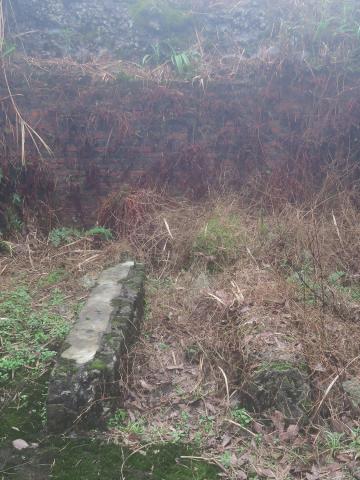
Here's the view looking in from the front:
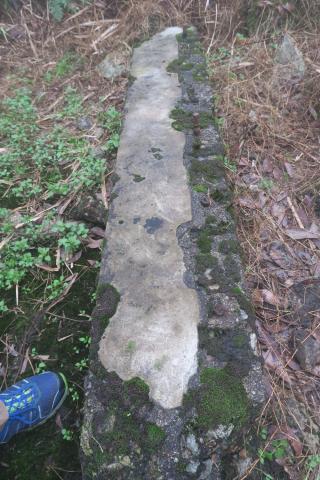
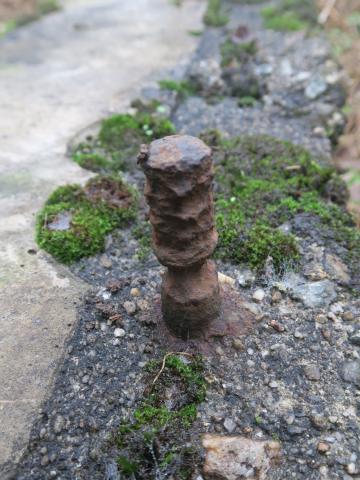
Just beyond Thomas you can see two, parallel concrete plinths, each with a row of bolts. Here's a closer view:
So this building would have housed some sort of machinery. The radar site had it's own an electric generator [7], so perhaps this was the generator house?
Return to the path and continue walking until you reach a much bigger path / lane. Turn right, then site I is along on the left side. It has a stone-lined passage leading up to the entrance, and is a larger site than the first one.
Whatever building was here has been demolished, but we could still see the corner of its concrete floor plate,
and what looks like uneven ground is actually piles of bricks, the rubble of the demolished buildings.
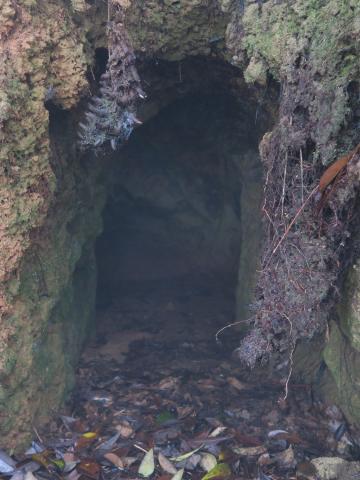
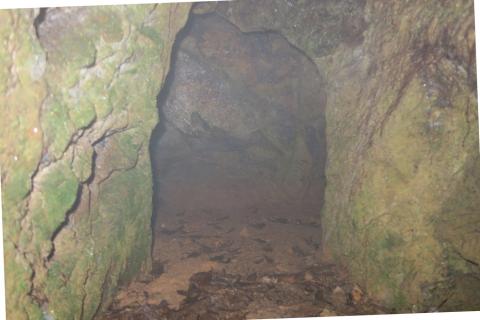
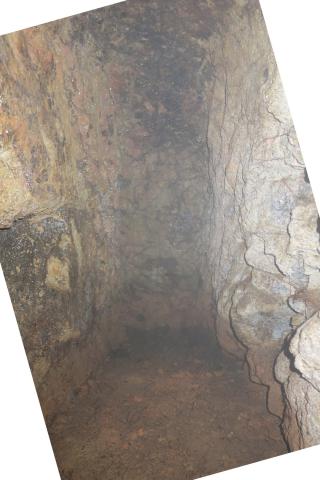
In the back-right corner we found one of most widespread remains of the Japanese occupation in Hong Kong - a small tunnel dug into the rock. It's just a short T-shaped tunnel, so nothing much to explore.
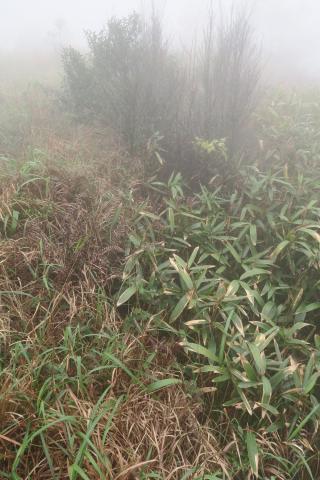
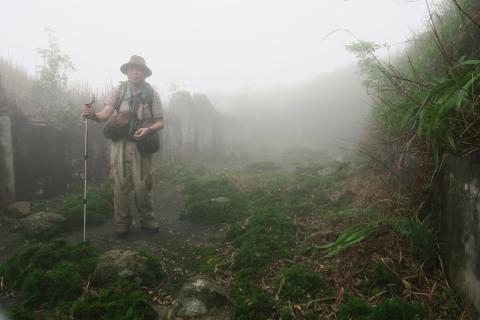
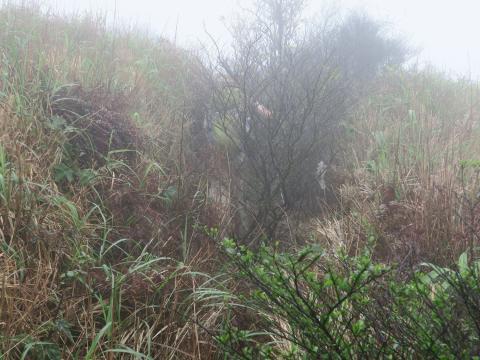
Head back out on to the path, and walk along to site E. Again there's a stone-lined passage leading into the excavated area. The passage is full of plants and bushes, which makes it hard to walk along but easy to spot. Look for the change from the hillside grass to these broad-leafed plants and the bushes:
They mark the entrance to the passage. This video follows its path from above, showing how it curves around:
The Japanese usually built their passages and tunnels with a turn to provide protection against blast.
This site doesn't have the piles of brick rubble like site I, but it has a few other interesting features. First it has two tunnels. The entrance to the first one was crumbling, so we left that alone. The second one was in better shape, so I took a look. Here's a video of me stumbling in:
Just a short tunnel again, L-shaped this time. Possibly they'd have been used as air raid shelters, or as stores?
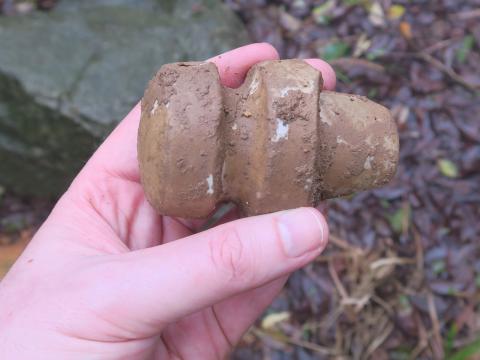
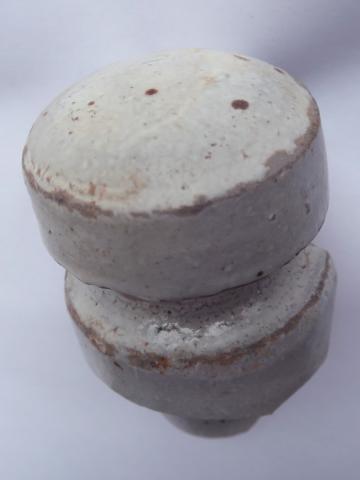
In the video you may have spotted something round on the floor, where the camera dips down as I picked it up. It's a ceramic insulator of some sort, quite possibly part of the Japanese cabling for the radar. Her's how it looked when I picked it up:
And after a wash:
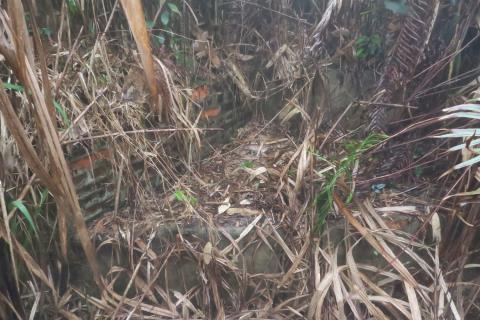
The other curiosity is a low wall across one of the corners, that looks as though it may have held water. Water tank? Fish pond?
Squeeze your way back out through the vegetation:
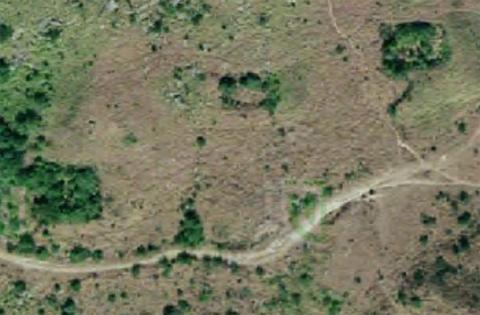
Then we'll go looking for the missing site. On the map above there doesn't seem to be anything between sites I and E. But look at this satellite view of the same area:
The rectangles of sites I and E are shown at either side, but there's also a smaller rectangle clearly visible in the middle, site K, that the mapping men have missed. It's a shallower excavation than the other two, with a stone wall along the front and plenty of brick debris inside it. From site E you can spot it by the bushes that are growing out from it. (As you walk there from site E, just watch your step. There's a sharply cut trench along the ground just here. It's not big enough for a person, so was possibly dug for cables?)
Site A was the next one we visited. It's an L-shaped pit, with stone walls on several sides. Inside the pit is the ruin of a rectangular building, clearly visible on the map and satellite views.
The walls are a mix of brick and reinforced concrete, built thick enough to provide some protection against explosions nearby.
Site J is nearby. Nothing special to report, just another excavated area with a dry stone wall at the front. There's a small square pit between these two sites.
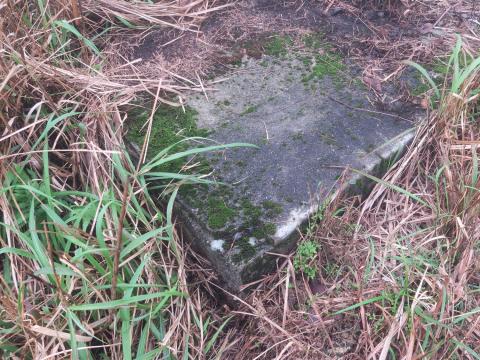
The next pair are sites B and C. Site C is unusually shallow, just a slight depression in the ground. It has this smoothly finished concrete slab on the ground:
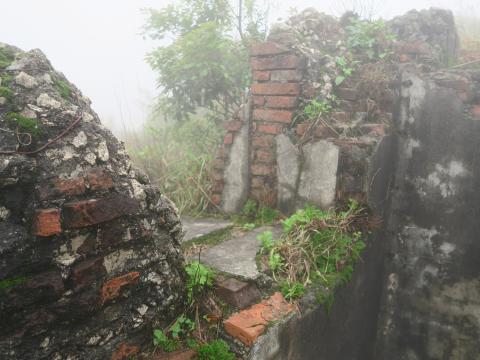
Site B, on the opposite slope, is much larger and deeper, with plenty of brick debris again. Here's Thomas heading into the entrance passageway. You can see the walls are over head height:
Inside the passage:
This video looks from the end of the passage into the excavated area, to give an idea of the size of the area and the height of the back walls.
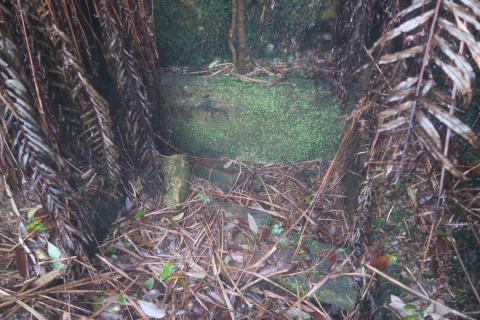
On to site H. It has the standard dry stone wall at front and cut into the hillside at the back, but its curiosity is a pair of slabs in the back corner. One is in the floor and one is upright above it, embedded into the rear wall of the excavation.
At first glance it's the entrance to a tunnel, but there isn't any opening. No idea what it was for...
A quick visit to site G: mid-sized, not very deep.
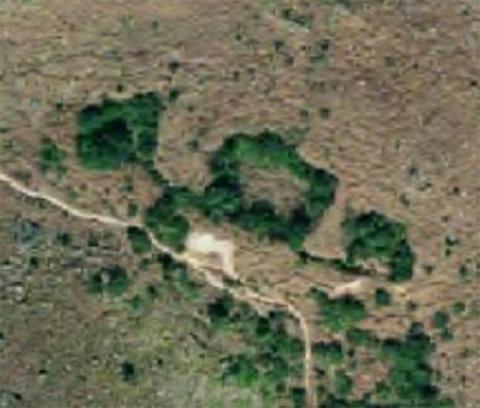
The last three sites we've labeled D1, D2, and D3. They show up clearly on the map, but the satellite view is even better:
As well as the three rectangular excavated areas, it also shows the passages that connected them. See those dark lines where vegetation now fills the passages?
The main entrance leaves the path just to the left of the light-coloured patch on the photo. This video shows where the passage meets the T-junction then branches left and right to D1 and D2.
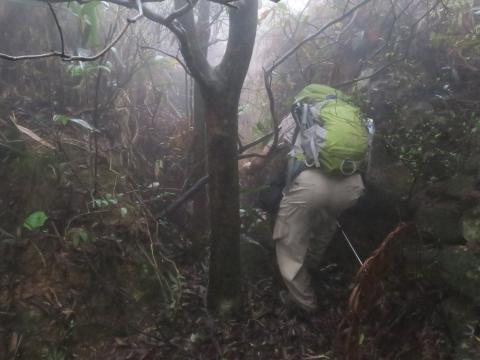
There were several of those thorny vines in the way, so we retreated then found another way in at D3. (Gloves and a pair of garden cutters are good tools to bring along on an outing like this.)
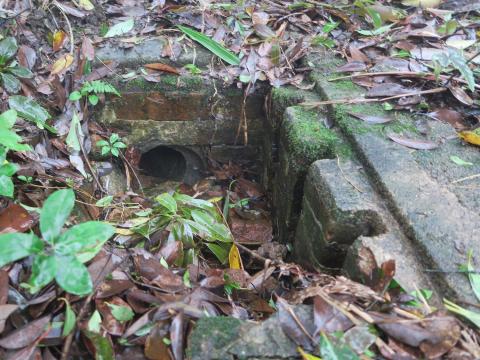
D2, the middle area, is the largest of these three. On the ground of D2, near the passage towards D3 is the entrance to a drain.
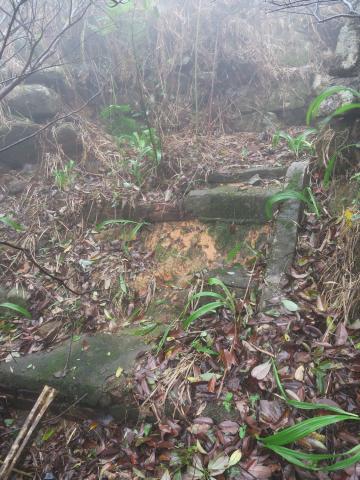
And where the passage drops a level down to D3, there used to be concrete steps.
It's clear that a lot of work went into building this radar site, not just all the physical labour for excavation, but also the attention to detail.
Rob found this confirmation of the work involved in an intelligence report dated 14th Sept 1945 [5]:
Tai Mo Shan: An Air Intelligence Unit (radio location) 113 strong is at the top of the mountain. The road leading to it is nearly 9 miles long. Construction started in Jan 1944 and with camp buildings was finished in Aug 1944. 3 Coy's of Japanese Engineers from Canton with 800 coolies were employed. The rains necessitate frequent repair as the road is not surfaced.
The main installation of 1 Transmitter and 4 receivers is serviceable. Each receiver searches a 90° arc. The power is supplied by a 75W 200 Volt AC diesel driven generator.
Summary
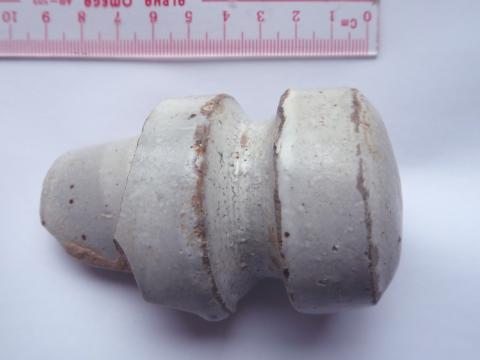
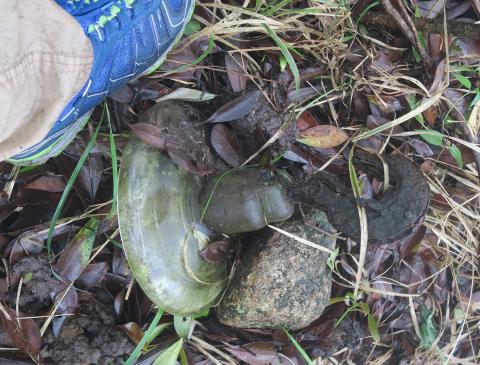
It was a good outing, with more to see than I expected. Apart from the excavations and ruins of buildings, there is also a chance we'd seen some of the equipment that was used there - the little ceramic insulator shown above and this, much larger, glass & iron insulator:
The one disappointment was the foggy weather. I'd hoped we could take photos that matched up with the 1945 views of the site, and do a then & now comparison. The poor visibility means that'll have to wait for another visit.
It'll be good to hear from anyone who can add any memories of the site. I'm especially interested to hear from anyone who worked at Tai Mo Shan in the 1940s-60s. Do you remember visiting this site? What condition was it in then? Were there any stories told about what it was used for?
Finally, I wonder if anyone has relatives who were involved in the construction of the site in 1944? I guess the Japanese would have gathered workers from Kowloon and the New Territories. It would be great to hear their stories too.
Regards, David
Tips if you're visiting
- Maps: The "Northwest New Territories" sheet from the Countryside Maps series is the one that covers this area, and is good to find your way there. Then to find your way around the site the map and satellite views at www.map.gov.hk are very useful.
- GPS: The MyMapHK application for Android and iPhone is very useful too, as it shows those same map and satellite views, and can match them to your current location via GPS. It was a great help when we were looking for the AA site, as we could "see" where we were, even though the actual landscape was hidden by fog. BUT, don't rely on it as it needs a live data connection to work, and many times we were out of range of mobile operator's data services.
- Finding sites: Look out for changes in vegetation - a dark green patch among the short grass, or a clump of trees. Also look for any man-made dry-stone walls, as they were the clues that led us to several of the sites.
- Take care: Many of the back faces of the excavated areas are several metres deep, so a fall could cause serious injury. Always enter from the low, front entrances, and take care not to fall in if you're walking the slopes looking for the excavated areas.
|
Also on Gwulo.com this week:
|
References:
- WW2 Japanese Radar Station on Tai Mo Shan, https://gwulo.com/node/30456
- WW2 Japanese Anti-aircraft gun sites at Tai Mo Shan, https://gwulo.com/node/31928
- "Japanese Radar Station on Tai Mo Shan", by Tymon Mellor. http://industrialhistoryhk.org/japanese-radar-station-tai-shan/
- The "Northwest New Territories" sheet from the Countryside Maps series is the one that covers this area.
- KMB bus route 51 (I can't see a way to link to their page, but visit http://kmb.hk/en/services/search.html and search for route 51), and the Green Minibus route 80 (http://www.16seats.net/eng/gmb/gn_80.html) both run from Tsuen Wan to Chuen Lung village.
- Detailed maps of Hong Kong are available online at www.map.gov.hk
- Intelligence Report dated 14th Sept 1945, original held in UK National Archive, their ref: WO 208/750A
Comments
"Tai Mo Shan" treanslation
David
"Tai Mo Shan" actually stands for big fog mountain, NOT big hat mountain.
Elaine
Re: Tai Mo Shan\大帽山\大霧山
Hi There,
Actually 大帽山 (帽 = Hat) had been used on the Chinese version Government Maps for decades. However 大霧山 is being used by the general public all the same. In this respect it doesn't really matter.
T
Tai Mo Shan Radar Sites Now and Then
Hi David,
We were lucky to have such a fine weather in our last outing and able to capture some clear shots of the area to make the past and present comparison based on the old images from The Industrial of Hong Kong Group website.
Once again - great job, and
Once again - great job, and you certainly had the better weather than our first visit in the fog!
labor
They used Allied POW's to build the station. I've read it somewhere. I think it was an essay on HKIS