Skip to main content
Menu
Menu
Home
Free newsletter
Shop
Explore
Add new...
What's new
FAQs
About
Gwulo menu for header
Show — Gwulo menu for header
Hide — Gwulo menu for header
Home
What's new
Gwulo
Old Hong Kong
Photos tagged:
Battery (410) Harbour Defence Battery (2122)
Primary tabs
View
Books
Events
Organisations
Pages
People
Photos
Places (map)
Places (list)
Streets (map)
Timelines
Year
Title
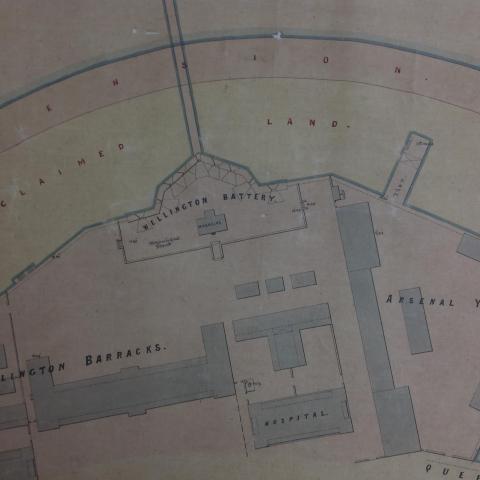
1883
Wellington Bty Central 1883.jpeg
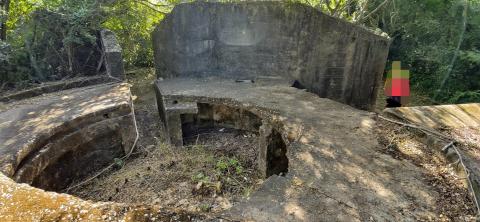
2020
IMG_20201125_PakShaWanBattery.jpg
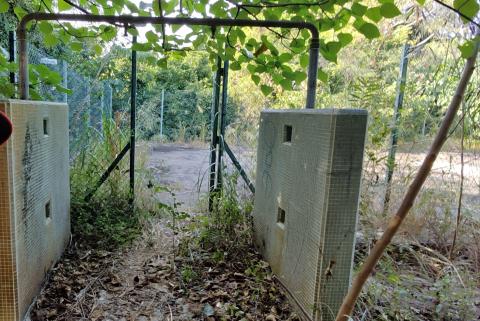
2020
IMG_20201125_formerpool.jpg