Gallery: 2020s Hong Kong photos
Choose a Gallery from the drop-down list below, then click the Apply button to show all photos from that Gallery.
| Title | Year |
|---|---|
Former Ma Wan Vehicular Ferry Pier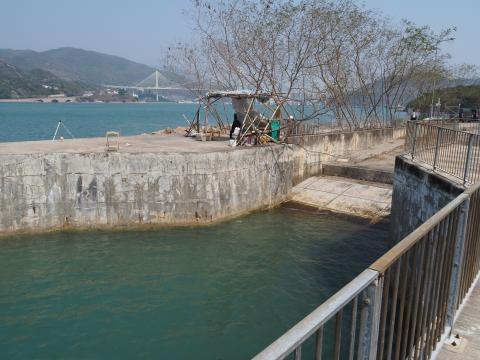
|
2023 |
Kowloon Methodist Church 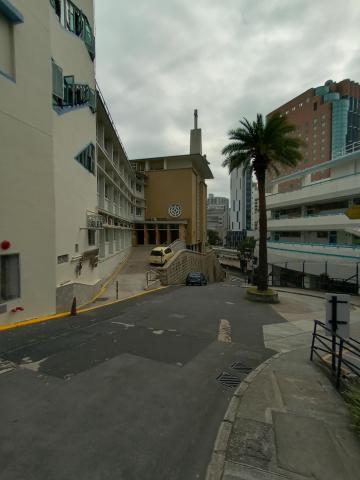
|
2023 |
Mural in Hoi Bun School garden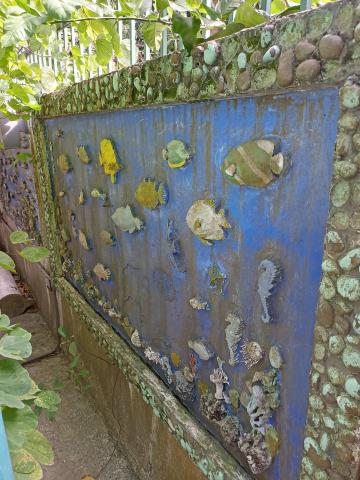
|
2023 |
Hoi Bun School garden
|
2023 |
4 inch Mark IV Naval Gun at Stanley/Falkland Islands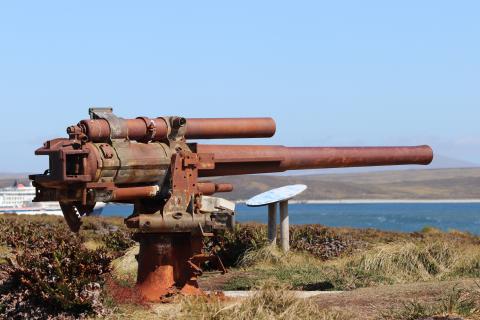
|
2022 |
Mire G 112 (Kowloon)
|
2022 |
Remaining column 263-265 Castle Peak Rd
|
2023 |
sign
|
2023 |
Au Tau
|
2023 |
Hoi Bun School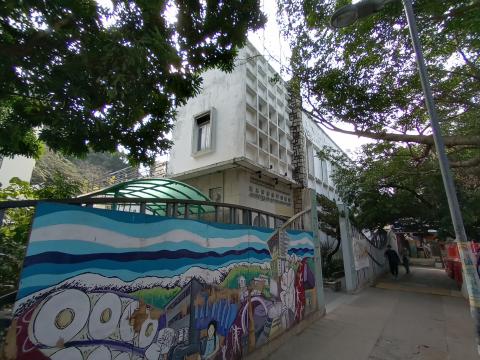
|
2023 |
23 Argyle Street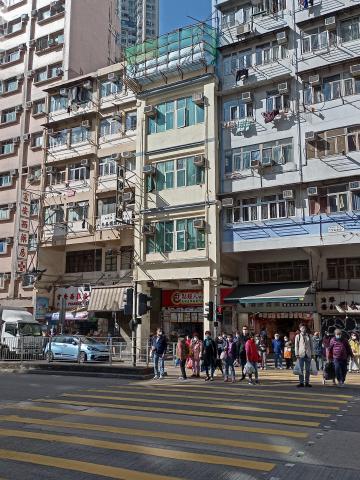
|
2023 |
N.K.I.L 4564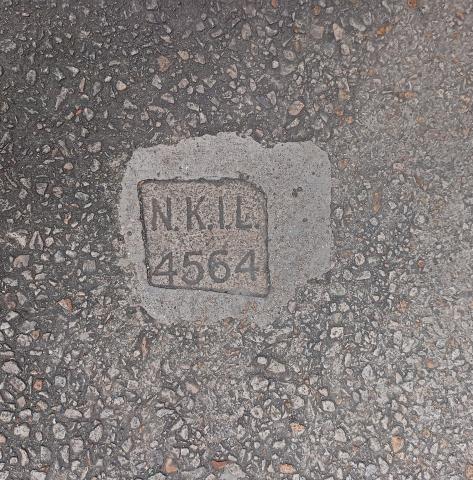
|
2023 |
Terraces, HKZBG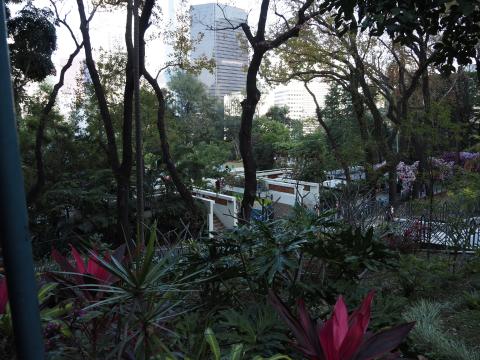
|
2023 |
high west ex google stree view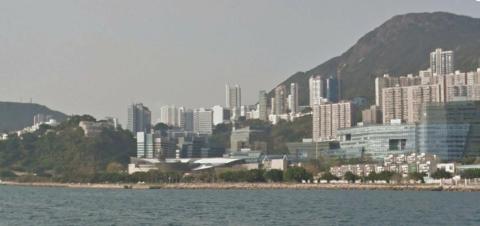
|
2020s |
12-14 Wood Road, Wanchai
|
2022 |
51-53 Hankow Road, Kowloon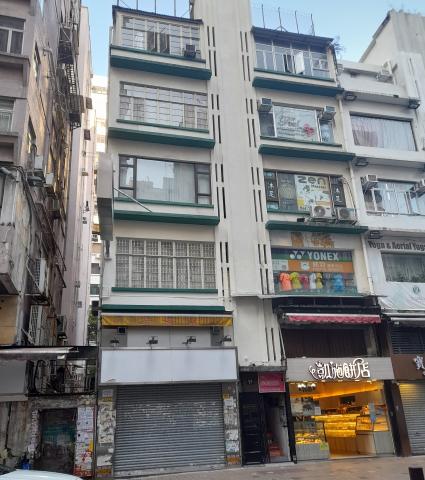
|
2022 |
Coates family memorial plaque, Golders Green Crematorium 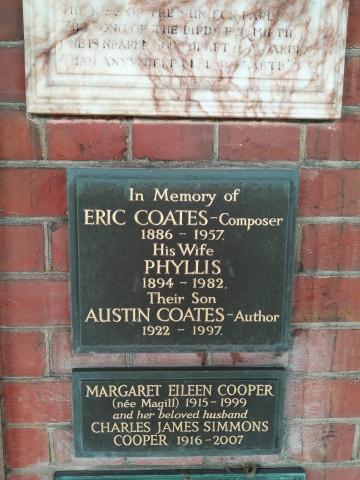
|
2022 |
Lei Yue Mun Quarry pier 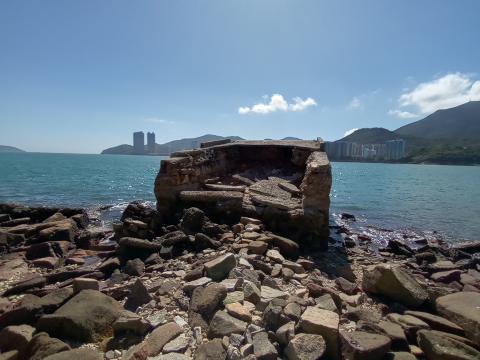
|
2022 |
Lei Yue Mun Quarry 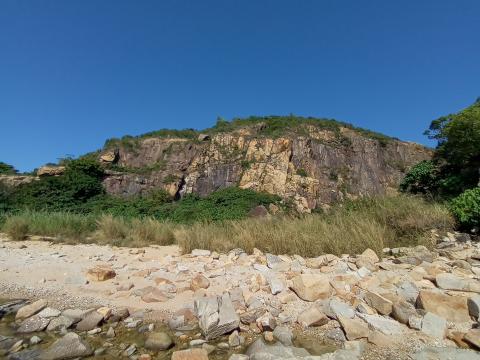
|
2022 |
Lei Yue Mun Quarry structures 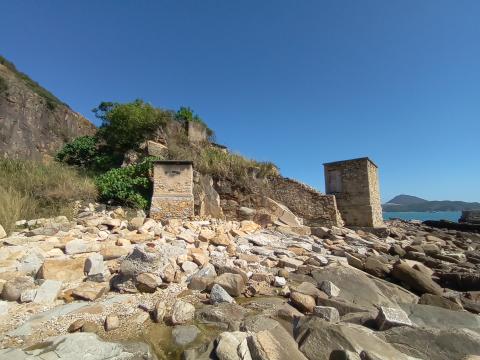
|
2022 |
Lei Yue Mun Quarry structures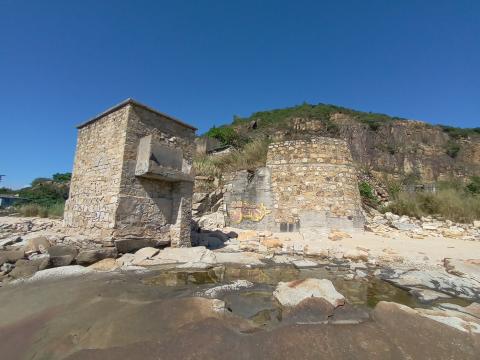
|
2022 |
Garden Bakery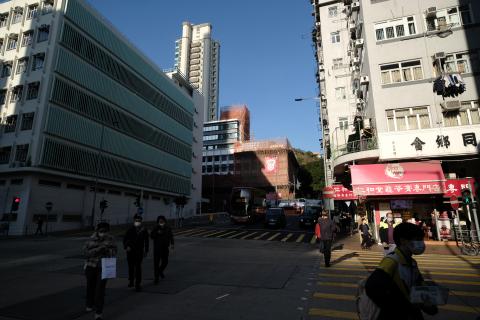
|
2022 |
Yuen Long Cinema Site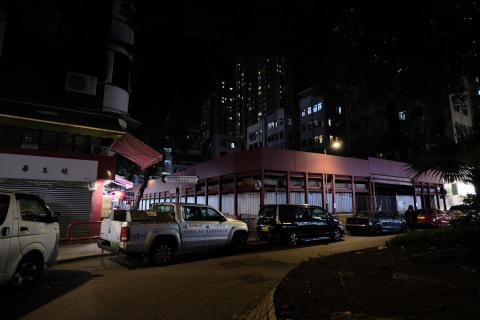
|
2022 |
Siu Ma Shan/Mt. Butler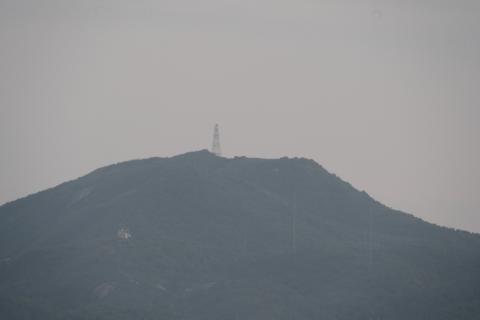
|
2022 |
Baat Gaan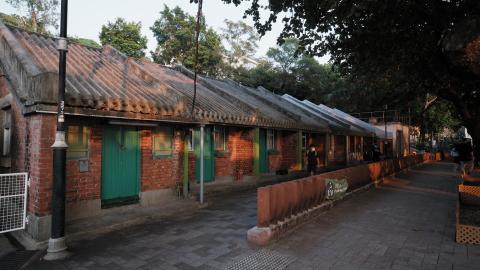
|
2022 |